12th October, 2022
Ripple effect is compatible with device running lollipop (API 21) and above. In this section you are going to learn how to implement Ripple Effect in Android.
Create New Project
Create a new project in Android Studio from File ⇒ New Project and select Empty Activity from the templates.
Method 1: Default Ripple Effect
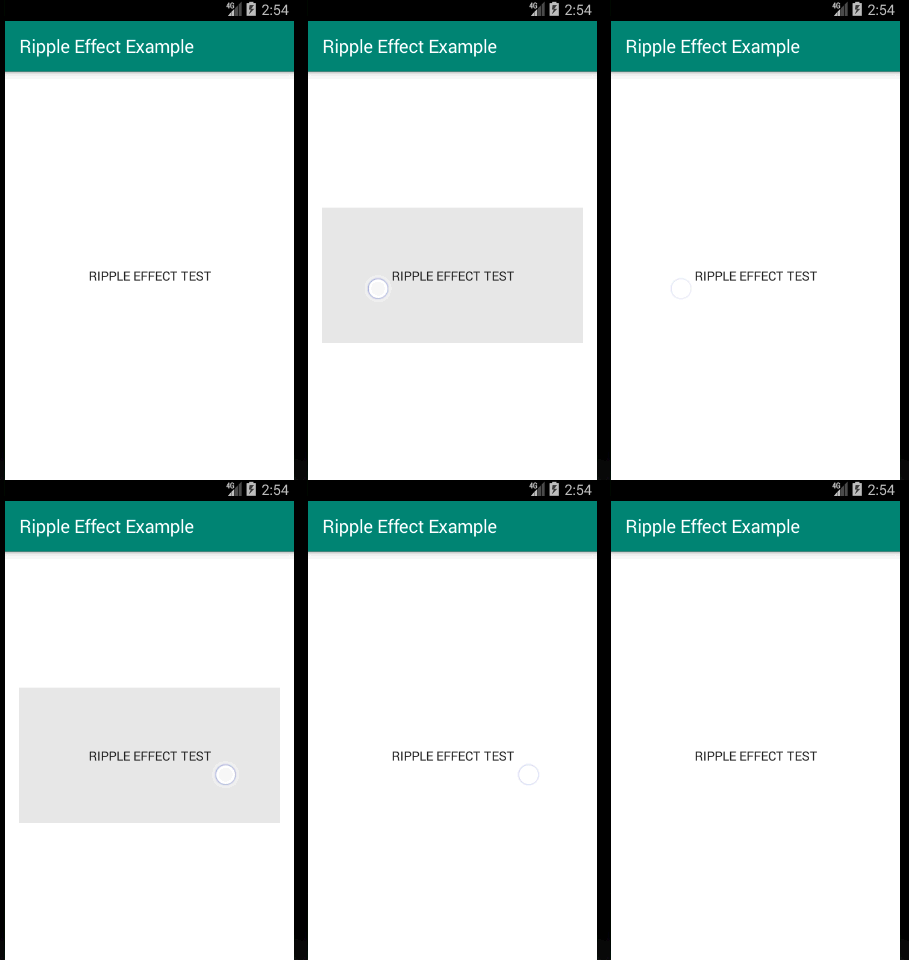
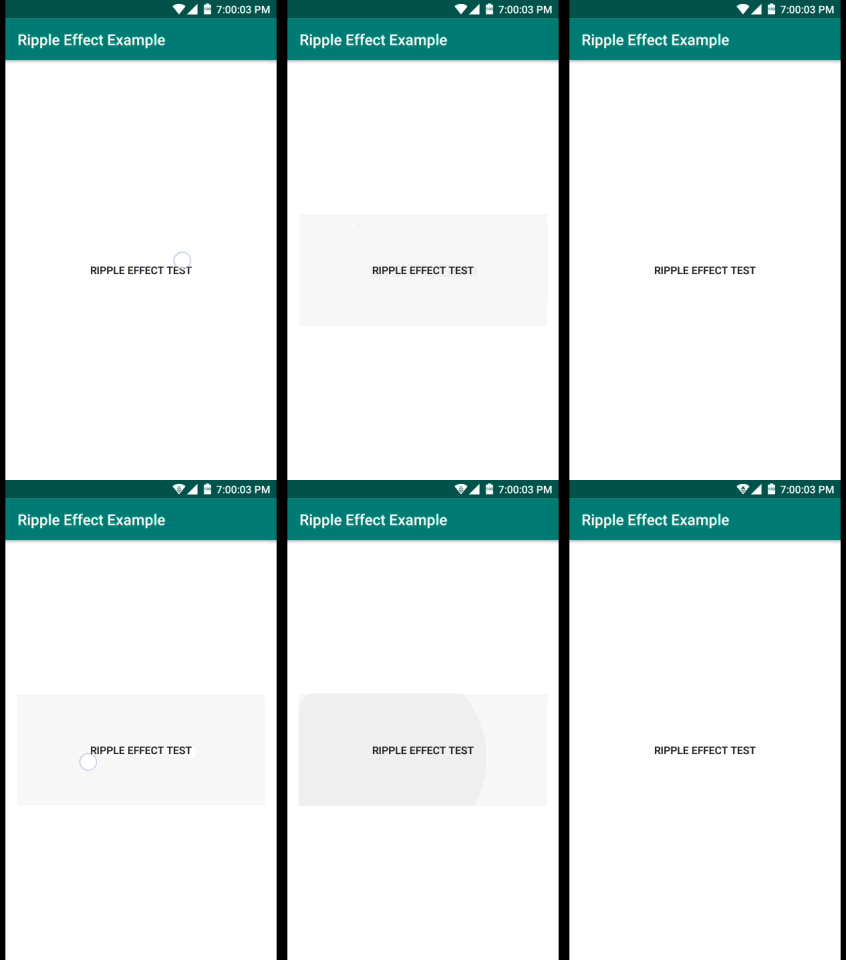
If you want to use default ripple effect, add background to the view.
<?xml version="1.0" encoding="utf-8"?>
<RelativeLayout xmlns:android="http://schemas.android.com/apk/res/android"
    xmlns:tools="http://schemas.android.com/tools"
    android:layout_width="match_parent"
    android:layout_height="match_parent"
    android:padding="15dp"
    tools:context=".MainActivity">

    <Button
        android:layout_width="match_parent"
        android:layout_height="150dp"
        android:layout_centerInParent="true"
        android:background="?attr/selectableItemBackground"
        android:text="Ripple Effect Test" />

</RelativeLayout>


Method 2: Custom Ripple Effect
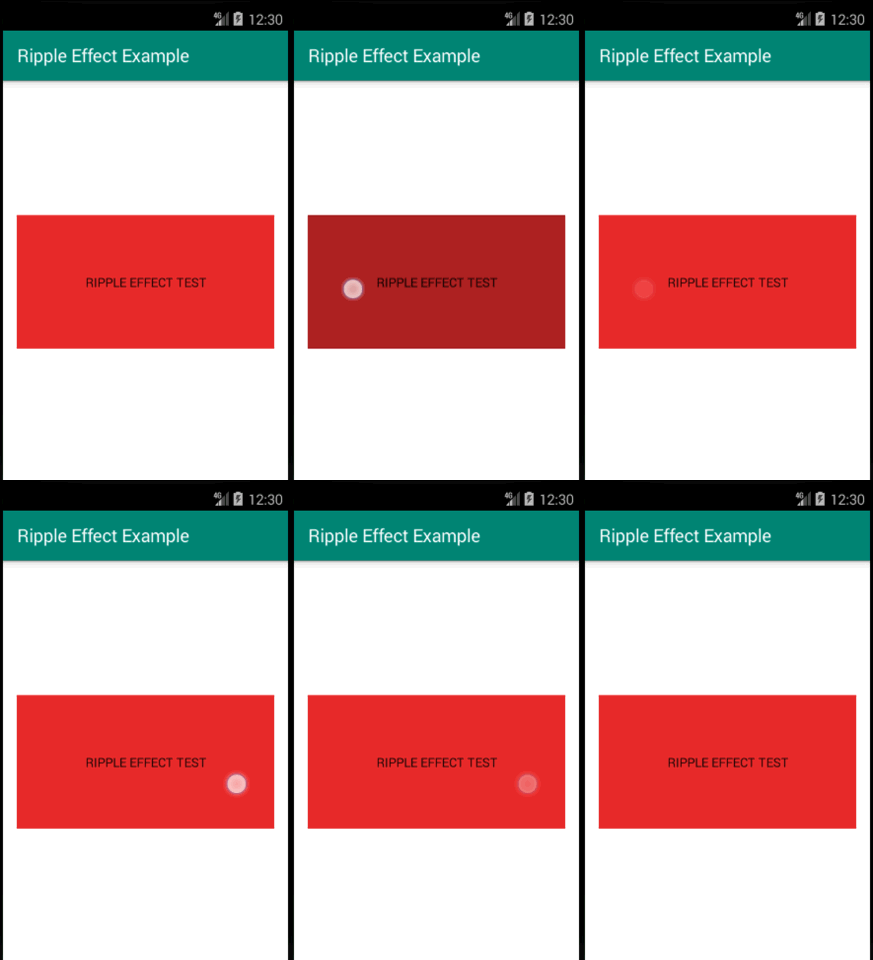
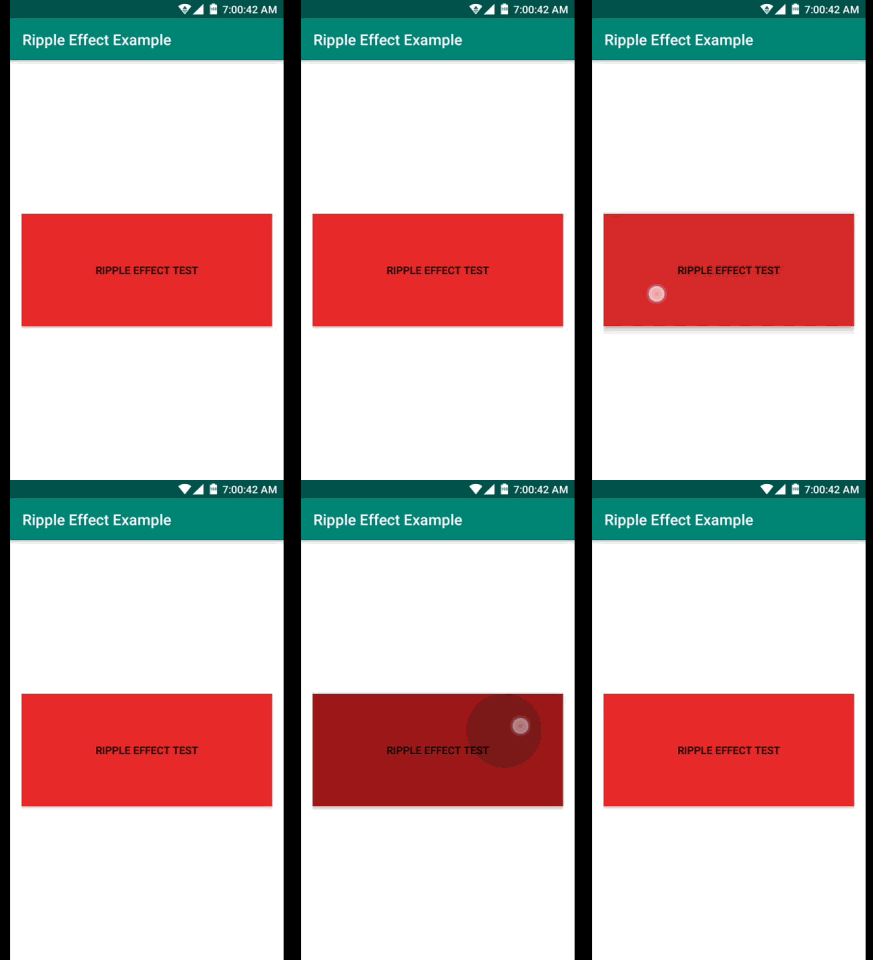
You can customize the ripple effect by adding a resource XML file.
For Android Lollipop and above (API >= 21)
Step 1: Create a resource XML file in resource drawable.
Project ⇒ app ⇒ src ⇒ main ⇒ res ⇒ drawable ⇒ my_ripple_effect.xml
<?xml version="1.0" encoding="utf-8"?>
<ripple xmlns:android="http://schemas.android.com/apk/res/android"
    xmlns:tools="http://schemas.android.com/tools"
    android:color="#571111"
    tools:targetApi="lollipop">

    <item android:id="@android:id/mask">
        <shape android:shape="rectangle">
            <solid android:color="#571111"/>
        </shape>
    </item>

    <!--Normal-->
    <item>
        <shape android:shape="rectangle">
            <solid android:color="#E72D2D"/>
        </shape>
    </item>

</ripple>
Step 2: Set ripple effect in Layout XML.
<?xml version="1.0" encoding="utf-8"?>
<RelativeLayout xmlns:android="http://schemas.android.com/apk/res/android"
    xmlns:tools="http://schemas.android.com/tools"
    android:layout_width="match_parent"
    android:layout_height="match_parent"
    android:padding="15dp"
    tools:context=".MainActivity">

    <Button
        android:layout_width="match_parent"
        android:layout_height="150dp"
        android:layout_centerInParent="true"
        android:background="@drawable/my_ripple_effect"
        android:text="Ripple Effect Test" />

</RelativeLayout>
For Android API >= 21 with support API < 21
Step 1: Create a resource XML file in resource drawable for API < 21.
Project ⇒ app ⇒ src ⇒ main ⇒ res ⇒ drawable ⇒ my_ripple_effect.xml
<?xml version="1.0" encoding="utf-8"?>
<selector xmlns:android="http://schemas.android.com/apk/res/android"
    android:color="#54E956">

    <!--Pressed-->
    <item android:state_pressed="true">
        <shape android:shape="rectangle">
            <solid android:color="#AC2121" />
        </shape>
    </item>

    <!--Normal-->
    <item>
        <shape android:shape="rectangle">
            <solid android:color="#E72D2D" />
        </shape>
    </item>

</selector>
Step 2: Create another resource XML file in resource drawable-21 for API >= 21.
Project ⇒ app ⇒ src ⇒ main ⇒ res ⇒ drawable-v21 ⇒ my_ripple_effect.xml
<?xml version="1.0" encoding="utf-8"?>
<ripple xmlns:android="http://schemas.android.com/apk/res/android"
    xmlns:tools="http://schemas.android.com/tools"
    android:color="#571111"
    tools:targetApi="lollipop">

    <item android:id="@android:id/mask">
        <shape android:shape="rectangle">
            <solid android:color="#571111"/>
        </shape>
    </item>

    <!--Normal-->
    <item>
        <shape android:shape="rectangle">
            <solid android:color="#E72D2D"/>
        </shape>
    </item>

</ripple>
Step 3: Set ripple effect in Layout XML.
<?xml version="1.0" encoding="utf-8"?>
<RelativeLayout xmlns:android="http://schemas.android.com/apk/res/android"
    xmlns:tools="http://schemas.android.com/tools"
    android:layout_width="match_parent"
    android:layout_height="match_parent"
    android:padding="15dp"
    tools:context=".MainActivity">

    <Button
        android:layout_width="match_parent"
        android:layout_height="150dp"
        android:layout_centerInParent="true"
        android:background="@drawable/my_ripple_effect"
        android:text="Ripple Effect Test" />

</RelativeLayout>


Happy coding!
