
5th February, 2023
As an Android developer you always need to test your app frequently. If you have a real Android device, that’s great. But sometimes your app needs to be tested on the specific Android API version or you want to check how your app perform in the different Android device. You don’t have all the real devices at the moment. Android studio makes this problem easy for you. You can create virtual device in Android Studio. They behave like real devices. In this section We will learn how to create Android Virtual device (AVD) in Android Studio.
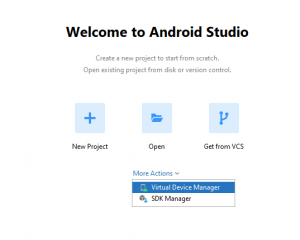
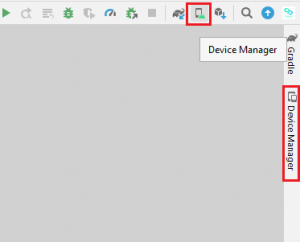
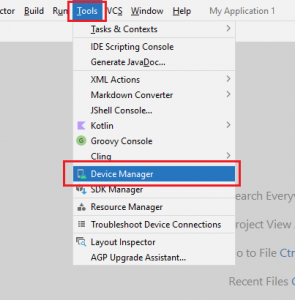
Step 1: Open Android Virtual Device (AVD) Manager
You can open Android Virtual Device Manager from various places.
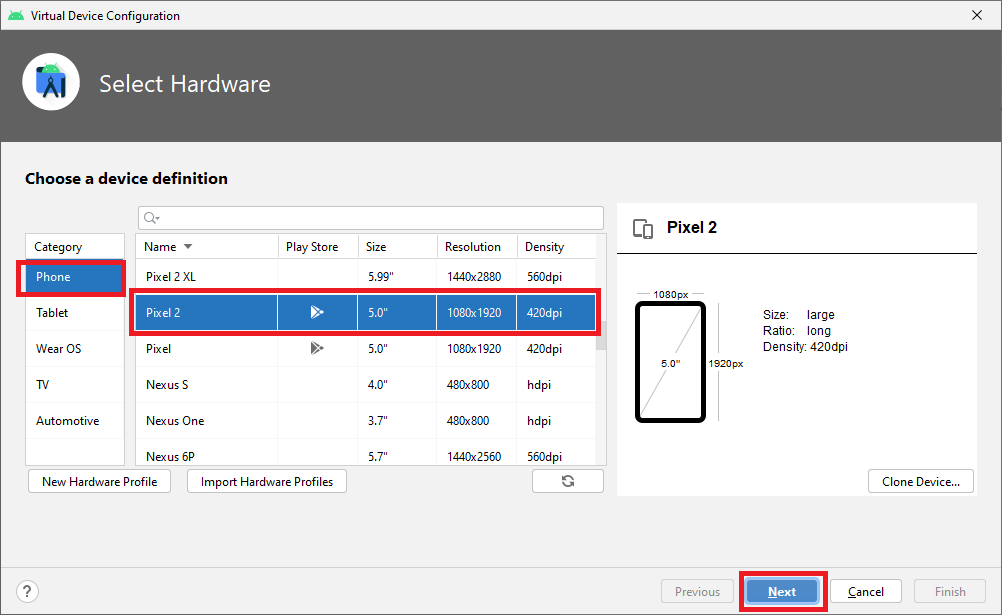
Step 2: Select a device from the list
Now click on Create Device from Device Manager tab. New popup window will open. Here you will see the list of category of Android devices. Select a device from the list and hit Next.
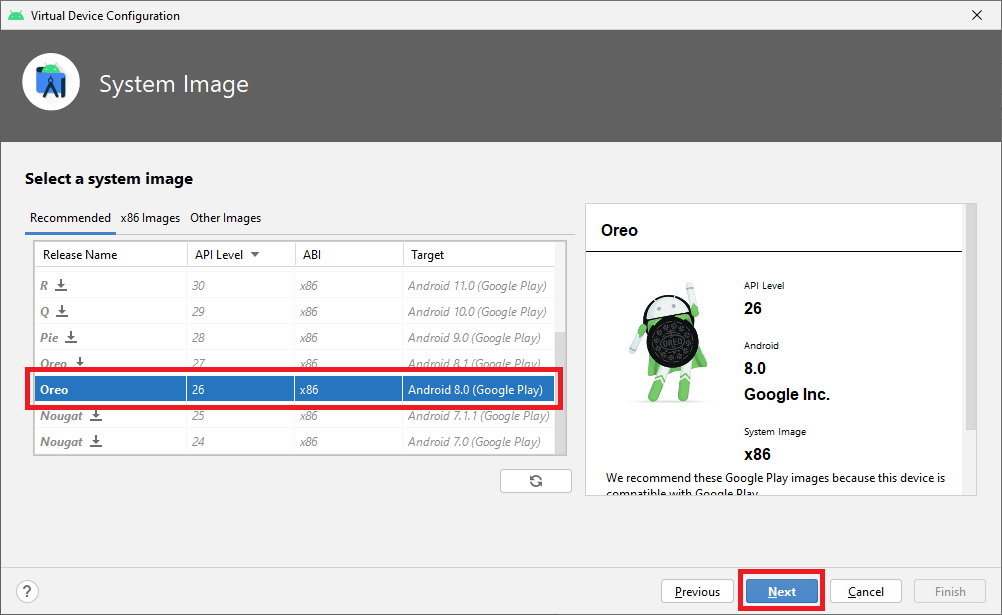
Step 3: Choose a system image based on your requirement
Now you have to choose a system image based on your requirements. The download icon indicates that the system image has not been downloaded yet.
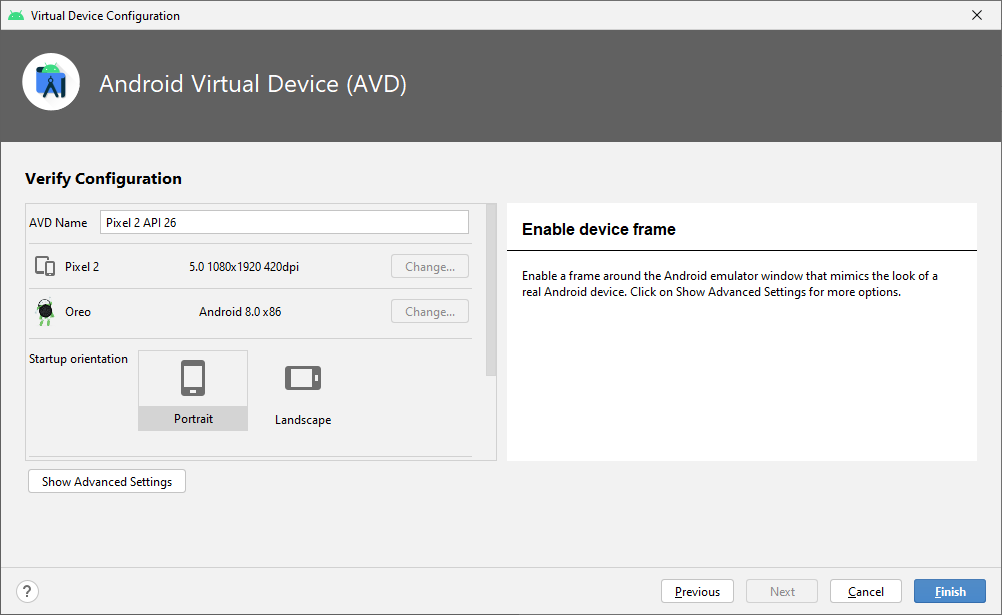
Step 4: Name your device and click Finish
You can customize the AVD. Enter AVD name in Android Virtual Device and click on Finish button. Click Finish.
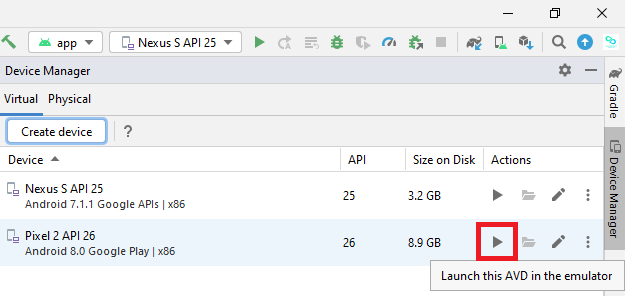
Step 5: Launch Android Virtual Device
Great. You have successfully created an AVD.
Let’s launch it.
Happy coding!